Shop by CategoryAll 431 products →
Learn to make delicious beef jerky at home using a dehydrator, smoker, or your oven. Covers meat selection, slicing, marinades, drying methods, and storage tips for perfect jerky every time.
Homemade jerky is cheaper, tastier, and has none of the preservatives of store-bought. Whether you've got a fancy pellet smoker or just a kitchen oven, you can make restaurant-quality beef jerky in an afternoon. No special skills needed—just patience and decent meat.
The process is straightforward: pick your cut, slice it thin, season it well, and dry it low and slow. We'll walk you through both the smoker method (our pick for best results) and the oven hack for when you're not firing up the grill.
Start with the right cut. Lean meat is your friend here—fat doesn't dehydrate properly and can go rancid. Stick to:
Skip marbled cuts like ribeye or brisket. They'll frustrate you and won't set properly.
Prep for slicing. Pop your meat in the freezer for 2–3 hours until it's firm but not solid. This makes slicing dead easy. Using a sharp knife, slice against the grain at 3–5mm thick. Against the grain is crucial—it stops your jerky becoming shoe leather.
How much? Meat shrinks heaps when it dries. A 1kg piece of raw meat gives you maybe 250g of finished jerky. Plan accordingly.
This is where you make it your own. Two methods:
Dry Rub: Mix your seasonings in a bowl, coat the meat thoroughly, and let it sit. Quick and easy.
Wet Marinade: Combine seasonings with soy, Worcestershire, or other liquid. More flavour penetration, slightly longer process.
Either way, refrigerate for 12–24 hours. The longer the better—the flavours have time to settle into the meat.
If you want to skip the mixing, Carnivore Collective makes a solid range of jerky seasonings. All around $17.95 and they do the heavy lifting for you.
| Flavour | Vibe |
|---|---|
| Hickory | Classic smoky. Can't go wrong. |
| Korean BBQ | Sweet, spicy, umami. Different and delicious. |
| Honey & Cracked Pepper | Sweet with a kick. Great for first-timers. |
| Peri Peri | Fiery. Not for the faint-hearted. |
| Maple Bacon | Sweet-salty combo. Aussie breakfast vibes. |
| Char Sui | Chinese-style, sweet-savoury. Interesting pick. |
Just follow the packet instructions—usually 2–3 tablespoons per 500g of meat—and you're set.
A smoker gives you the best results. Here's the go:
Setup:
The Process:
Pellets to Try:
| Product | Size | Price |
|---|---|---|
| GMG Fruitwood Pellets | 12.7kg | $50 |
| GMG Apple Pellets | 12.7kg | $50 |
Both are brilliant for jerky. Fruitwood's your safe bet—mild, slightly sweet, doesn't overpower. Apple's gentler still. Mix and match if you want.
Pro tip: Pat your meat dry with paper towel before it goes in. Moisture is the enemy of proper drying.
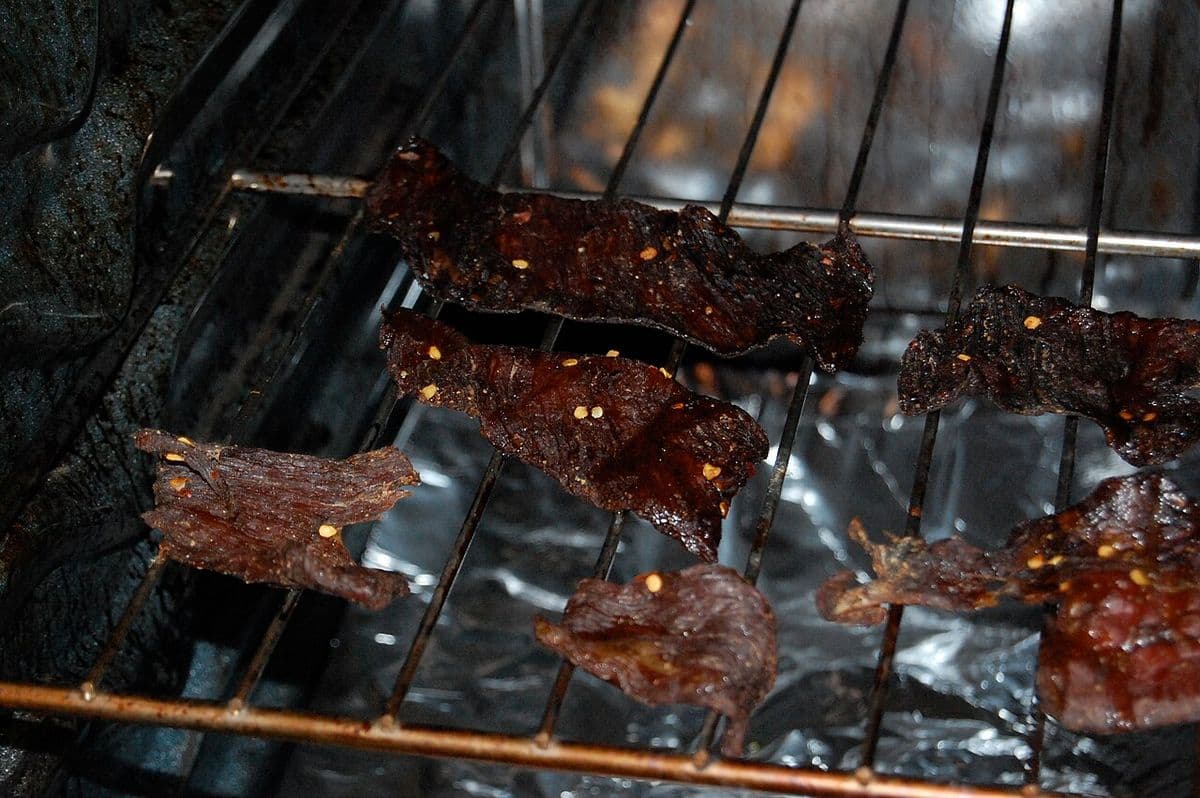
No smoker? No worries. Your oven works fine.
Setup:
The Process:
Oven jerky's perfectly fine, just not quite as smoky. Fair trade-off if you haven't got a smoker.
If you want to try ground meat jerky—perfect for odds and ends or for a different texture—a jerky gun's your tool.
The gear:
Ground meat jerky dries faster (usually 3–4 hours in a smoker) and gives you a chewier, more uniform bite. Worth experimenting with.
How long does it last?
Storage tips:
Making better jerky:
Making jerky at home is one of those skills that feels fancy but is actually dead simple. A decent cut, decent seasoning, and a bit of patience gets you results that'll blow store-bought out of the water. And at a fraction of the price.
Start with one batch using a basic hickory seasoning and your smoker or oven. Once you've nailed the technique, go wild with Korean BBQ or Maple Bacon. The Carnivore Collective seasonings take the guesswork out of it.
Ready to get started?
Happy jerking.